
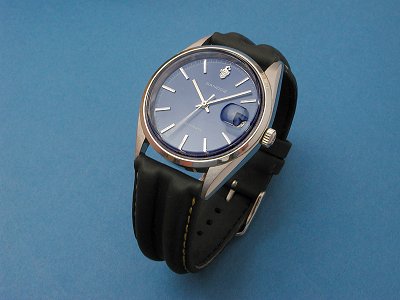

An example of using photo editing software to mimic a lighting effect is in producing a spotlight effect. At left is a base image of a watch shot specifically for this purpose. It is positioned in the frame in order to allow room for the eventual spotlight, and is also lit from the correct angle to suit the spotlight.
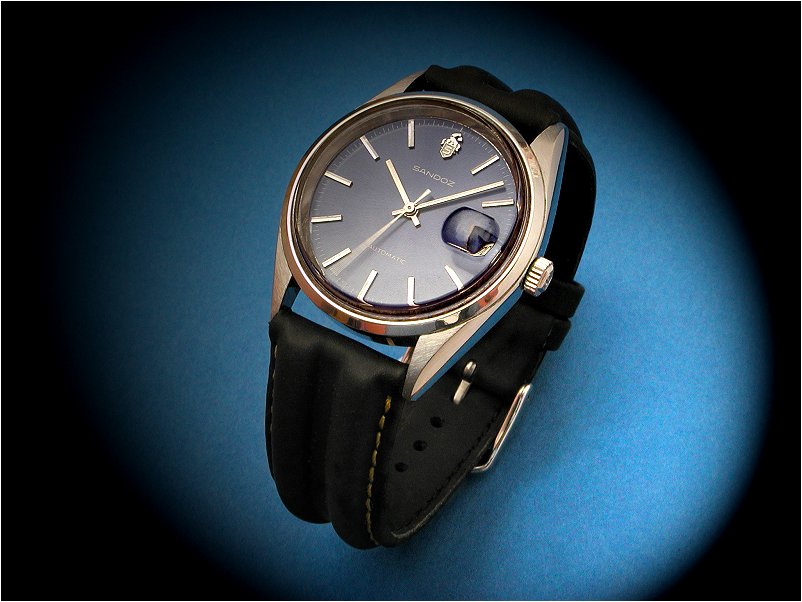
Using the Render/Lighting Effects in PhotoShop I selected the Soft Spotlight option and played around with size and positioning, and the intensity and focus parameters, until a suitable spot-lit area is produced, giving the effect as shown below.
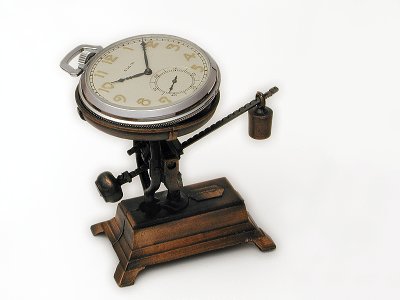

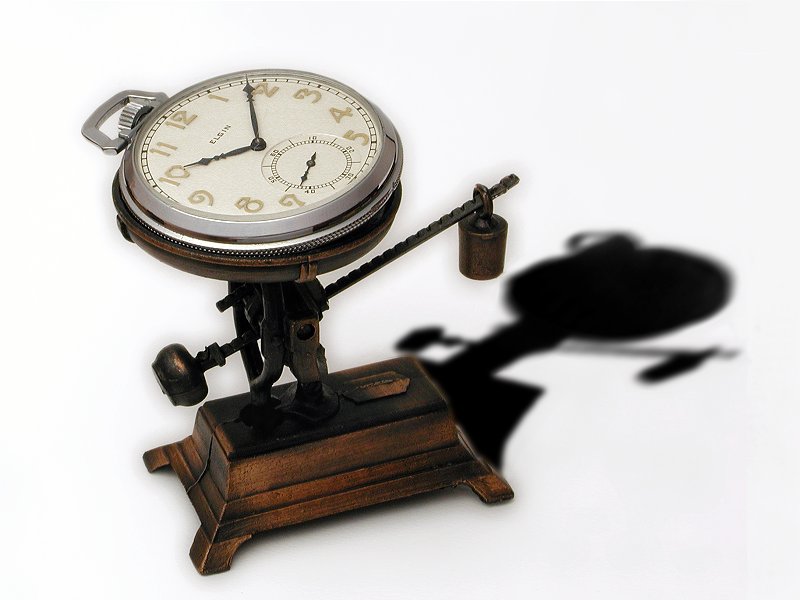
Producing shadows is another area in which editing can be helpful. At left is an example in which I placed a pocket watch on a set of scales (actually a toy pencil sharpener) and wanted a strong shadow cast to the right. Here is the base shot lit by a diffused fluorescent lamp positioned to the left and overhead, with a plain white background sheet curved up behind to form a seamless background. The plan is for the shadow to fall to the right and behind.
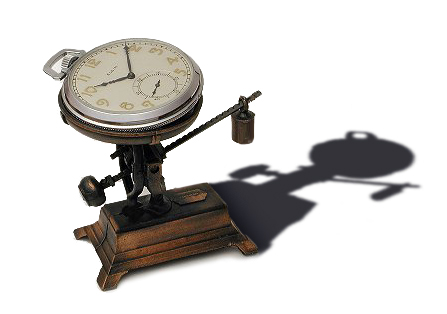
To form the shadow I traced the outline of the scales & watch using the select tool, and then pasted this copy into the image and rotated and stretched it until it lay in roughly the correct orientation. The selection was filled with a dark grey colour, and the area between the shadow and the base of the scales was filled in manually where it wasn't clean. This produced a good start for the shadow.
The shadow shape was then further manipulated by skewing it to the left more. Finally the outline of the shadow was selected and feathered to give it a more realistic soft edge that became softer the further away from the subject. The colour was also darkened more toward black, and there you have it.
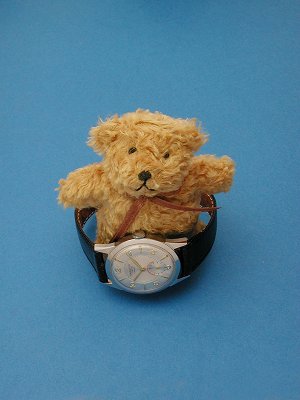

As it is commonly accepted that a spotlight can produce a strong shadow it is only natural to combine the two effects, and I have done so in this image. The subject is a small teddy bear with a watch, looking up toward the viewer. The base image is shown at left. Once again the image was shot keeping in mind to leave room for the spotlight and the shadow.
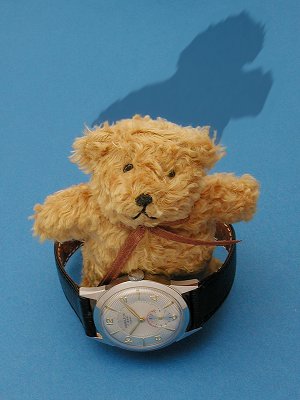
Here we have the shadow in place. It was produced in much the same manner as in the scales shot described previously. The main difference being that the shadow is much lighter in this image.
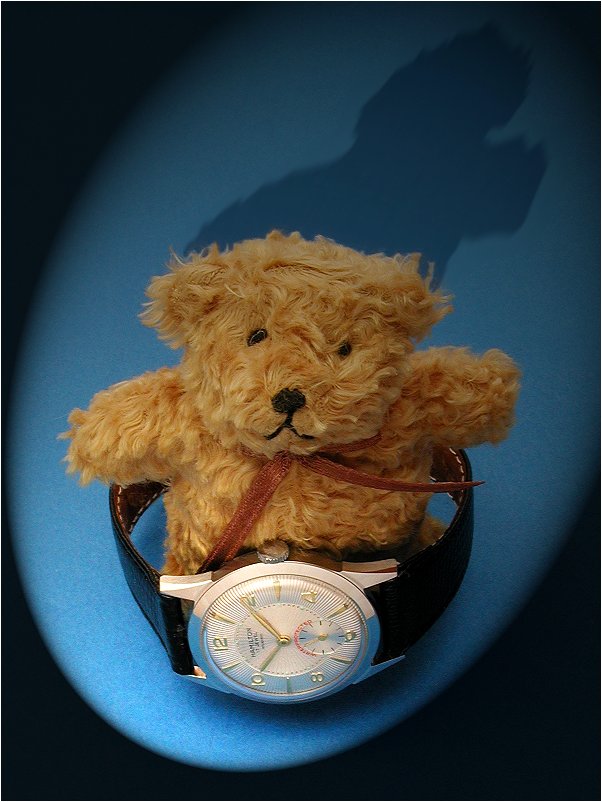
A spot-lit area was then added using the method previously described, with the orientation of the light source matching the fall of the shadow. So, it's nature in reverse, with the shadow determining the light source! The final image is shown below.
Copyright 2005 Paul Delury